
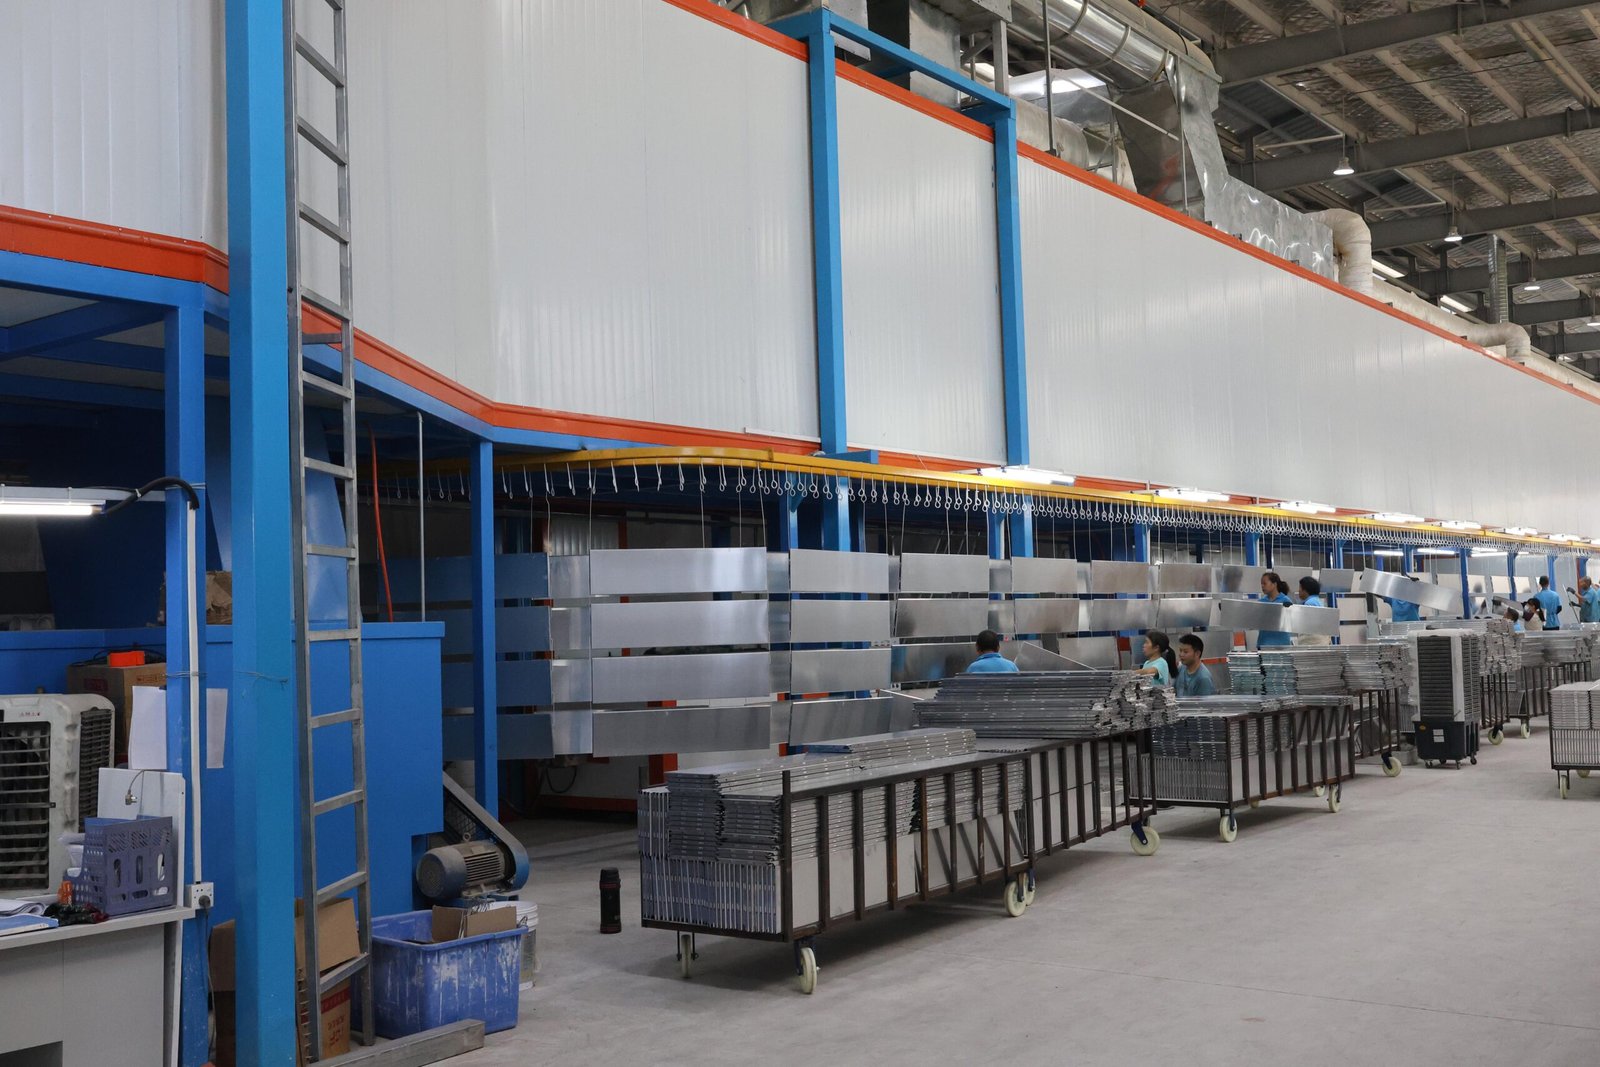
How Do You Optimize Curing Oven Settings?
Getting the cure wrong can ruin an entire batch—bubbling, warping, or uncured powder.
That’s why optimizing curing oven settings is essential.
You optimize curing oven settings by controlling temperature, time, airflow, humidity, and load configuration based on the specific material being processed. This ensures consistent quality, efficiency, and safety.
If you’re ready to take control of your curing process and eliminate guesswork, read on—we’ll cover every factor that matters.
What material factors should guide your curing oven setup?
Not all materials cure the same way.
Using one temperature profile for all powders or coatings is a recipe for defects.
To optimize curing, you must understand the specific thermal and chemical needs of the material. This includes temperature range, tolerance, and required time to cross-link or harden.
Examples of Material-Specific Needs
| Material Type | Ideal Cure Temp (°C) | Sensitivity Notes |
|---|---|---|
| Epoxy powder | 180–200 | Sensitive to overheating |
| Polyester powder | 190–210 | Good UV/weather resistance |
| Hybrid powder | 170–190 | Balanced corrosion + durability |
| Ceramics (industrial) | >800 | Requires very controlled ramp rate |
Choosing the wrong cure settings for your coating or composite leads to issues like peeling, blistering, or poor adhesion.
Why is precise temperature control essential in curing ovens?
Even a few degrees off can cause inconsistency across parts.
Worse—fluctuations ruin entire loads.
Precise temperature control ensures that every part reaches and maintains the required cure temperature evenly throughout the process.
We recommend digital PID (proportional–integral–derivative) controllers paired with high-sensitivity thermocouples. These allow real-time adjustments and accurate data logging.
What to Look For
- Oven reaches setpoint within 5–10 minutes
- Variation stays within ±3°C throughout cycle
- Temperature sensor placement reflects actual part surface—not just air temp
Regular calibration is key. We run monthly thermocouple checks to prevent drift.
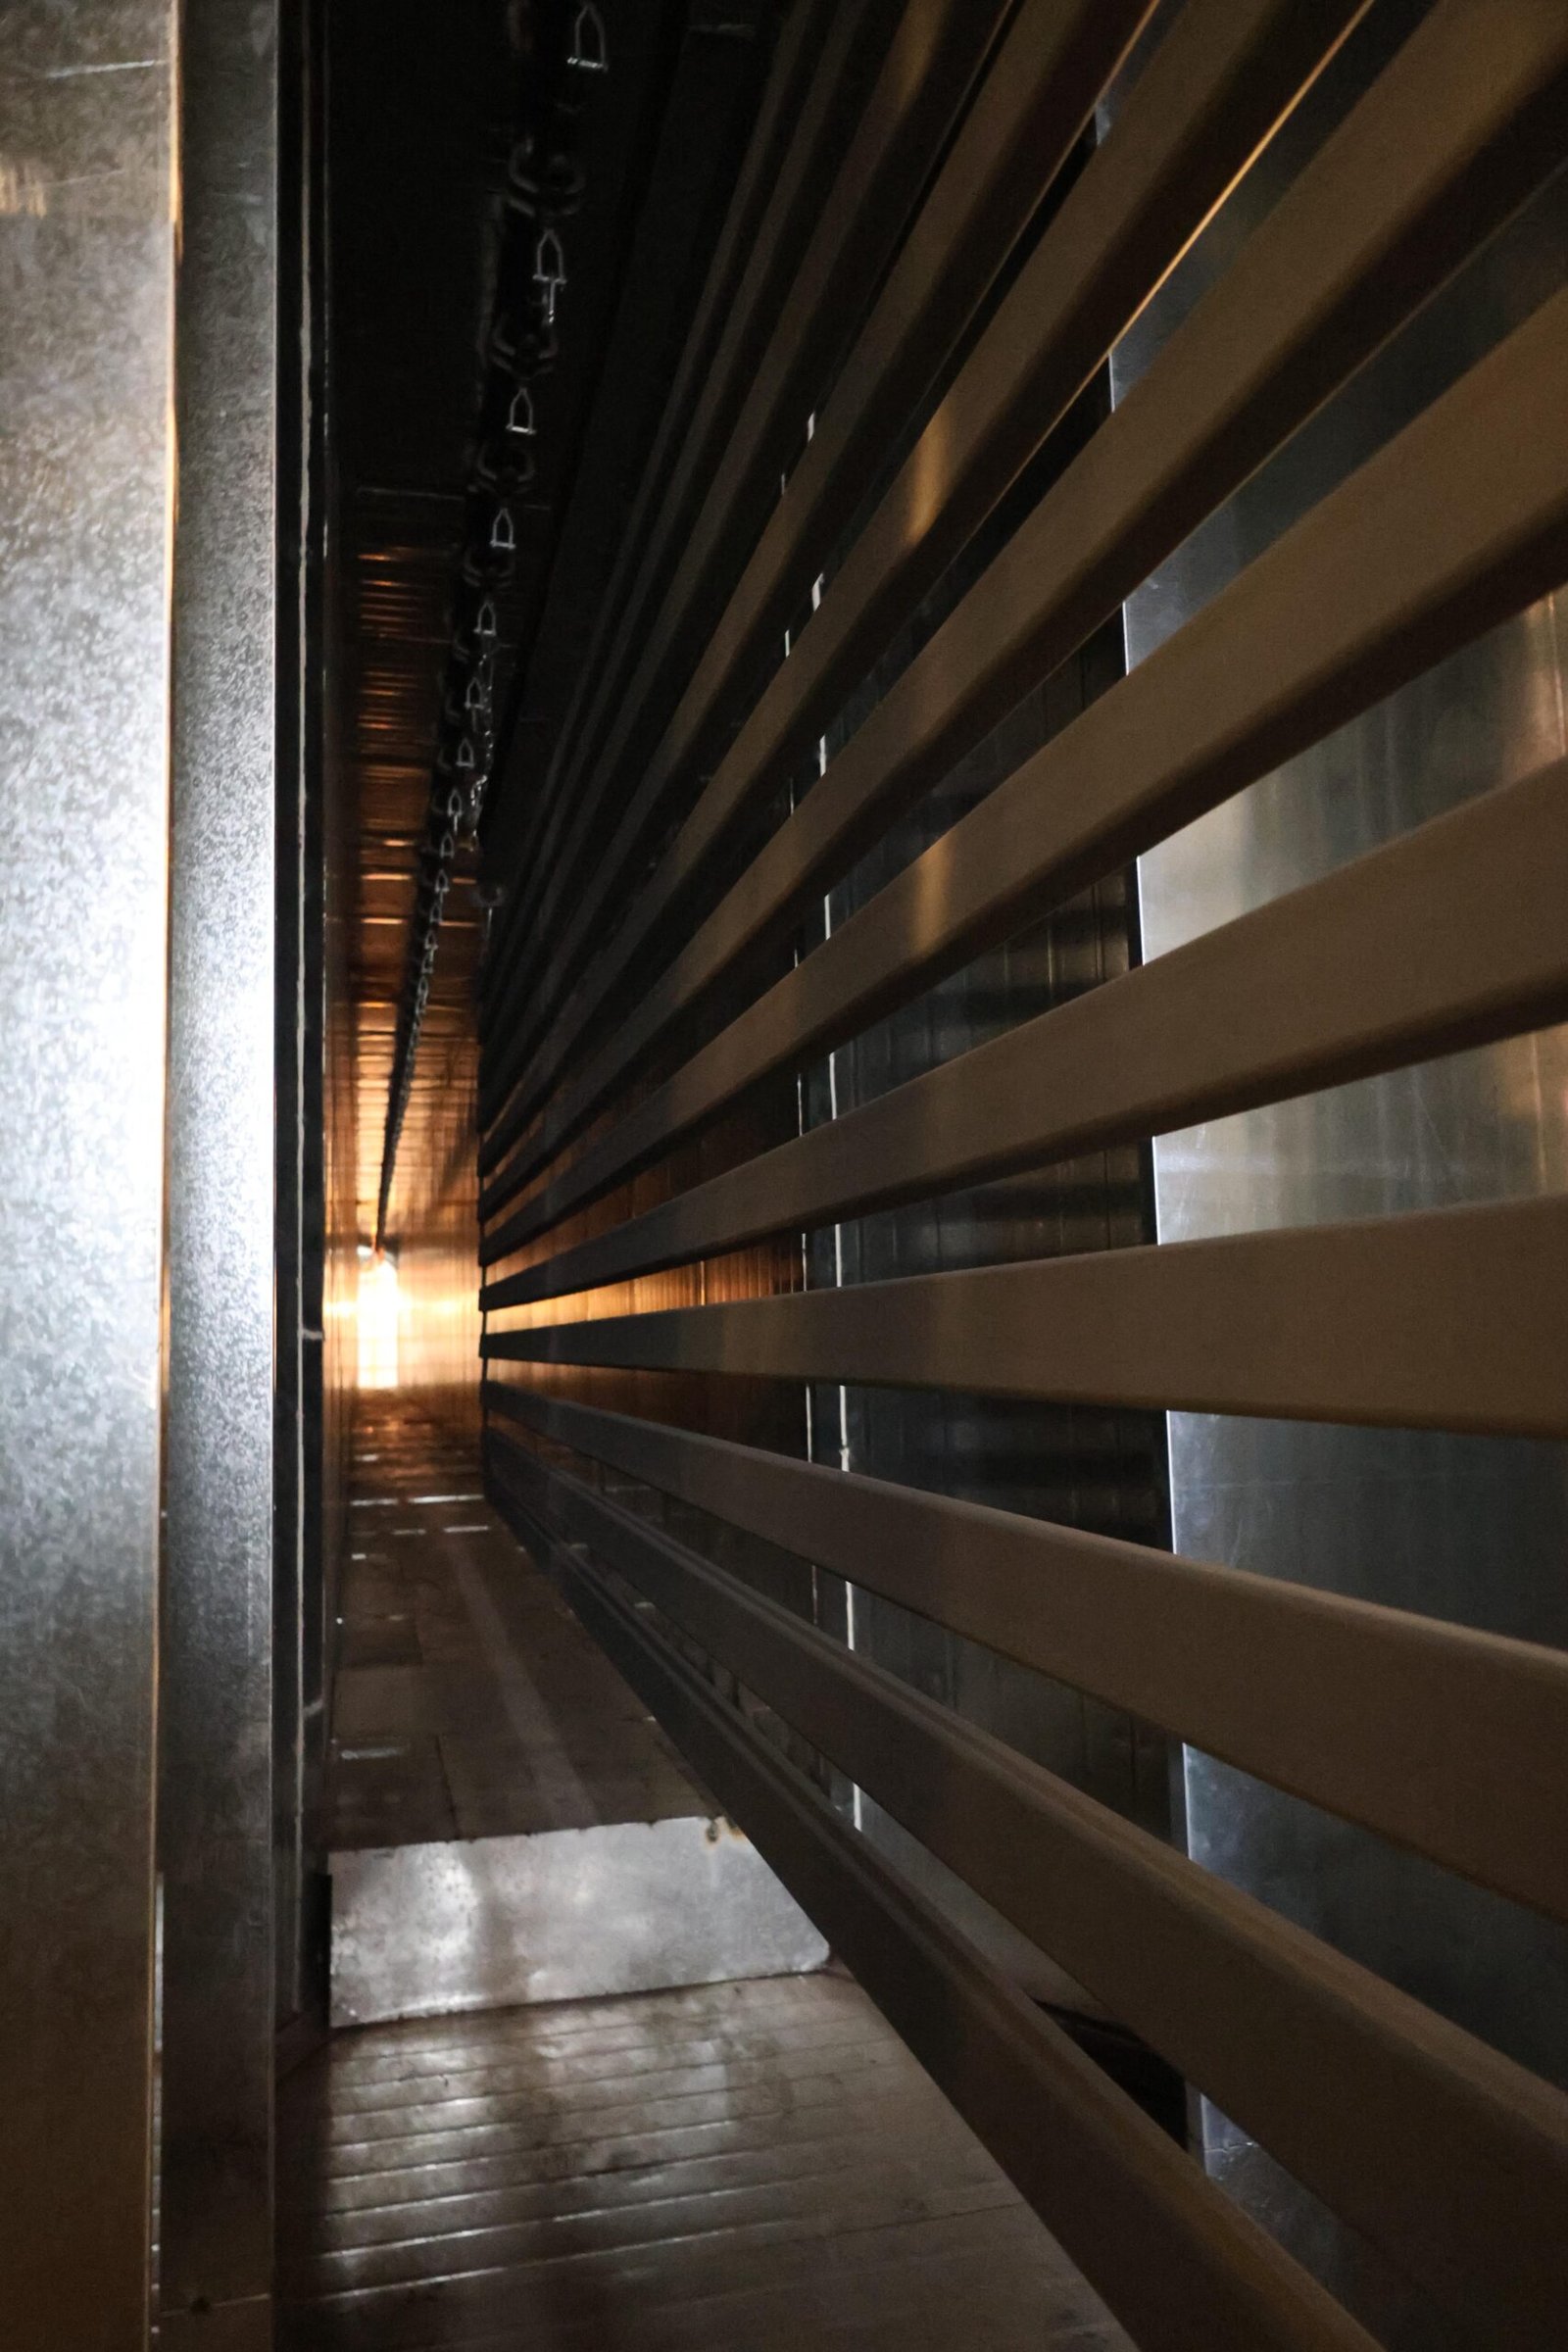
How do you manage airflow for even curing?
Dead zones and hot spots = uneven cure = rejected product.
Good airflow eliminates temperature gradients by circulating hot air uniformly. This ensures every surface is exposed equally to heat.
Your oven should have built-in air recirculation using high-temperature fans and baffled ductwork. Test airflow with smoke pencils or airflow meters to locate dead zones.
Tips for Better Airflow
- Avoid blocking vents or fans with large parts
- Maintain clean fan blades and filters
- Test both horizontal and vertical airflow direction options
Improper airflow usually shows up as discoloration or uneven finish on coated parts.
How do you control humidity inside the oven?
Some materials don’t like moisture—and curing ovens can trap it.
Humidity control helps prevent blistering, bubbling, and poor adhesion in moisture-sensitive materials like composites or some thermosets.
While many powder systems tolerate ambient humidity, high-precision curing may require:
- Dehumidifiers: For polymer or composite processes
- Humidity probes: Real-time %RH monitoring inside chamber
- Material pre-baking: To remove moisture before cure
We keep our curing area <50% RH with pre-drying for critical applications.
How do you determine the optimal curing time?
Guessing your cure time leads to waste and failure.
Ideal curing time is long enough to allow cross-linking and flowout but short enough to avoid degradation or energy waste.
Most powders specify a time/temperature curve—e.g., 10 min at 200°C. But actual time depends on:
- Material thickness
- Color (dark colors cure faster)
- Load spacing and airflow
We run sample panels with thermocouples to verify cure times match powder manufacturer specs.
How can curing ovens be made more energy-efficient?
High heat = high bills—unless you’re using it efficiently.
Optimizing energy use reduces costs and environmental impact without sacrificing quality.
Energy-Saving Strategies
| Technique | Benefit |
|---|---|
| Thermal insulation | Minimizes heat loss |
| Recirculation and reuse | Captures and reuses hot air |
| Auto shut-off timers | Prevents idle heat loss |
| Fast warm-up elements | Reduces total cycle time |
| Sealed doors and dampers | Keeps heat where it belongs |
We reduced our oven’s power use by 22% after installing high-efficiency blowers and new insulation panels.
How does load configuration affect curing?
Curing isn’t just about oven performance—how you load it matters too.
Load configuration impacts airflow, temperature exposure, and consistency across parts.
We space our racks so air can move freely between parts. Heavy parts go on bottom shelves to prevent shading lighter ones.
Best Practices
- Keep at least 100mm clearance between parts
- Don’t overload or stack tightly
- Use airflow baffles for large or dense pieces
Poorly arranged loads result in "overcooked" edges and undercured centers.
Why is monitoring and data logging critical?

If you can’t prove your oven cured properly, you’re flying blind.
Real-time monitoring and automated data logging help confirm cure parameters were met and diagnose issues fast.
We use multi-channel thermocouples with a data logger to track temperature at multiple points in each load.
Monitor These Variables
- Internal air temp
- Part surface temp
- Humidity (if needed)
- Cure duration (time at target)
Saved logs provide proof of quality control—and help train new staff.
What safety protocols are essential for curing ovens?
Safety isn’t optional in high-temperature operations.
Proper ventilation, fire suppression, and emergency shutoff systems protect both staff and equipment.
Key Safety Practices
- Inspect gas burners or electric coils weekly
- Maintain door seals to avoid leaks
- Post cure-time charts and emergency contacts
- Train all staff on oven shutdown procedure
We conduct fire drills twice per year focused specifically on oven incidents.
How do you validate the curing process?
A finished part might look fine—but if it’s undercured, problems will appear later.
Process validation confirms that your oven settings consistently produce cured parts that meet all quality specs.
We use a combination of destructive and non-destructive testing:
- Crosshatch adhesion tests
- Cure tape pull
- Solvent rub resistance
- Gloss and hardness testing
Run validation weekly or after any major oven repair or parameter change.
Conclusion
Curing oven optimization isn’t just about setting a timer and walking away—it’s about understanding your material, dialing in your environment, and confirming results every step of the way.